What to know about shucking oysters
Shucking is a skill that takes time to master, but fear not, here is a quick guide to everything you need to know to shuck the perfect oyster. We’ll cover types of oysters and what impacts their shape, size, and taste to body parts key to shucking and different shucking that suit your needs.
Types of Oysters
Across the world, there are dozens of oyster varieties, but almost every oyster you’ll find in the U.S. comes from five main species. Each one has a distinct location, flavor profile, and shell shape, which is why an East Coast oyster tastes so different from a West Coast one. Here’s a quick breakdown of the five oyster types you’ll see most often on raw bars, menus, and seafood markets.
Eastern Oyster (Crassostrea virginica): Found all along the East Coast from the Gulf to Canada, Eastern oysters have a clean, briny, mineral flavor and elongated, teardrop-shaped shells. They’re the most common U.S. oyster, with flavor that shifts by region.
Pacific Oyster (Crassostrea gigas): Grown on the West Coast and across the Pacific Rim, Pacific oysters offer sweet, melon-like notes with medium brine and deep, fluted, ruffled shells. They’re the most widely farmed oyster species in the world.
Kumamoto Oyster (Crassostrea sikamea): Raised mostly on the West Coast, Kumamotos are small, sweet, and buttery with deep, sculpted cups. Their petite, photogenic shells and approachable flavor make them a raw-bar favorite.
European Flat / Belon (Ostrea edulis): Native to Europe and grown in small amounts in Maine, European flats have a bold, metallic, ocean-heavy flavor and round, coin-flat shells. They’re rare, intense, and beloved by experienced oyster eaters.
Olympia Oyster (Ostrea lurida): A tiny native of the West Coast, Olympias delivers a sharp, coppery, earthy flavor in small, shallow, round shells. Limited in supply, they’re a specialty oyster prized for their distinctive taste.
Key Biological Parts to Shucking an Oyster
Understanding a few key parts of an oyster’s anatomy makes shucking easier, safer, and a lot more intuitive. From the hinge that holds the shells together to the liquor that carries the oyster’s flavor, each feature plays a role in how the oyster is opened and served. Here's a quick look at the parts that matter most.
Top & Bottom Shell: An oyster’s top shell is flat while the bottom shell forms a deep cup that holds the meat and liquor. Knowing which side is which helps you orient the oyster correctly and avoid spilling the brine as you shuck.
Hinge: The hinge is the thick, durable point where the two shells meet, acting like the oyster’s natural lock. It’s the safest and most controlled entry point for a shucking knife because the shell is strongest here.
Shell Lips: These are the thin, brittle edges running around the top and bottom shells. They chip easily under pressure, which is why controlled force and the right blade matters especially with side shucking.
Mantle: The mantle is the soft, skirt-like tissue that lines the inside of the shell and creates new shell growth. When shucking, keeping the mantle intact helps the oyster look clean and well-presented on the half-shell.
Gills: The gills are feathery structures that filter plankton and seawater, allowing the oyster to breathe and feed. They also help clarify the oyster’s liquor, contributing to the clean brine flavor.
Heart: Oysters have a small, beating heart located near the adductor muscle, and it can sometimes pulse right after you open a fresh oyster. It plays no role in shucking but adds a fascinating detail about their biology.
Liquor: The liquor is the oyster’s naturally trapped seawater, held in the cup of the bottom shell. It’s packed with brine and flavor and should always be preserved when shucking for the best raw oyster experience.
Why Redesign the oyster knife?
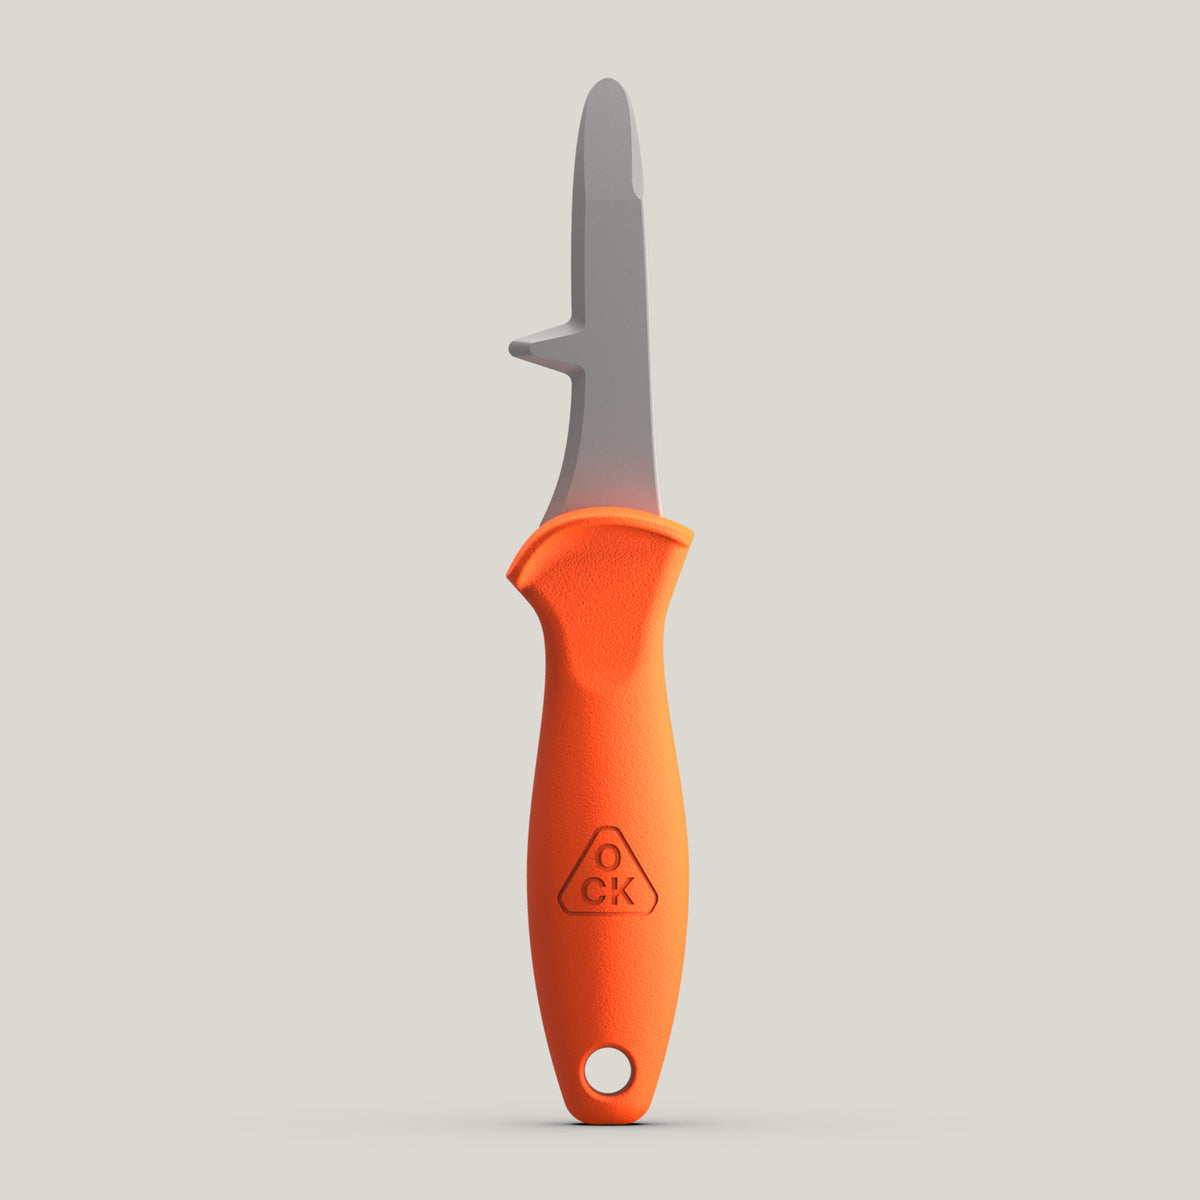
For anyone who has spent time on oyster grants, behind raw bars, or shucking for friends at home, one truth becomes clear fast: the traditional oyster knife hasn’t changed much in decades.
Through years of personal experience, and countless conversations with coastal folks, raw-bar shuckers, fishermen, and market teams, the same pain points surfaced again and again: cuts, strain, and long-term hand fatigue. Every shucker has their story about the one time they cut themselves really bad. The most common injury are cuts and knicks across the top knuckles, caused when the blade pushes too deep into the shell and the hand runs into the sharp shell. The second, often more serious, is when the knife slips out of the hinge and lands in the opposite hand holding the oyster, cause a nice gash. Shucking oyster is about finesse, not force. Whether you’re hosting guests on a Saturday night or working a packed raw-bar shift, no one wants a trip to the ER or a bandaged hand during service.
Beyond cuts, there’s the strain. Many professional shuckers develop chronic wrist pain, numbness, or overuse injuries from thousands of repetitive motions. Some friends of mine have needed wrist surgery, and old-school shuckers often talk about locked-up hands after decades of working with tools that were never really designed with ergonomics in mind.
This raised a simple question: Could the oyster knife be redesigned to make shucking safer, more comfortable, and more versatile, without changing the soul of how oysters are opened?
Shucking Technique #1 | Hinge Shucking
Hinge shucking is the safest, cleanest, and most controlled way to open an oyster. By entering through the hinge, the strongest part of the shell, you get a compact, predictable shuck with minimal risk of slipping or cutting your knuckles. It’s the preferred method for both at-home shuckers and raw-bar professionals because it keeps your hands protected and the oyster intact.
-
Insert the Blade Into the Hinge: With the pointed tip of the blade, find the hinge at the back of the oyster and gently press into the natural opening.
-
Grip and Stabilize: Place the fingers of your non-dominant hand over the back of the blade, squeezing the knife and oyster together until everything feels snug and locked in.
-
Rotate to Pop the Shell: Keeping your fingers braced on the back of the blade, rotate your forearm to apply controlled pressure. Push downward into the hinge until you feel the pop that separates the top and bottom shells.
-
Sever the Top Adductor Muscle: Slide the blade along the inside of the top shell until you reach the adductor muscle. Cut through it cleanly, then remove the top shell.
-
Free the Oyster From the Bottom Shell: Locate the adductor muscle still attached to the bottom. Slide your knife under the oyster, scraping gently along the bottom shell, and cut through the bottom attachment.
-
Ready to Serve: The oyster is now fully severed, clean, and ready for presentation.
Shucking Technique #2 | Side Shucking
Side shucking is fast, efficient, and commonly used in competitions or high-volume environments. By entering through the side seam of the oyster, you can reach the top adductor muscle quickly. It requires more precision than hinge shucking and involves working through the shell’s edge, but once mastered, it’s an incredibly quick method.
-
Find the Shell Seam With the Rounded Edge of the Blade: Use the rounded top part of the blade to locate the point where the top and bottom shells meet along the side.
-
Wiggle Into the Shells: Gently wiggle the blade into the seam until it slides between the shells.
-
Swipe Up to Cut the Top Adductor: Once the blade is tucked in place, angle upward and make a smooth swipe to slice through the top adductor muscle. This will release the top shell.
-
Remove the Top Shell: Lift off the top shell to reveal the oyster in the bottom cup.
-
Sever the Bottom Muscle: Just like hinge shucking, find the remaining adductor muscle attached to the bottom shell. Slide your blade underneath the oyster and cut through to free it completely.
-
Ready to Serve: The oyster is now fully separated and ready for the plate.