How oyster species, biology, and knife type impact shucking technique from beginner to expert
Oyster shucking is a skill that requires time and practice. How an oyster is shucked completely shapes how it's eaten. A sliver of shell, spilled oyster liquor, or an attached adductor mussel can sully the oyster-eating experience. Experienced shuckers also know that every oyster variety is different. Factors such as size, shell fragility, and hinge strength all impact how a shucker shucks. Species, variety, and growing methods also shape how an oyster tastes, looks, and shucks. In this shucking guide, we explore different shucking techniques and dive into how anatomy, species, and cultivation methods shape the shuck. We also break down types of oyster knives and explore when to hinge shuck and side shuck.
Oyster Anatomy
Oysters have an incredibly simple anatomy that has remained relatively unchanged for 200 million years. Their goal in life is simple: settle, feed, grow, and reproduce. Belonging to the bivalve family, oysters have a hinged pair of half-shells (valves) that allow them to filter feed from the surrounding environment (which can actually improve water quality and support other species). Oysters lack a "brain" but rather have a simple, decentralised nervous system that allows them to identify places to settle based on light cues and close their shells when they face danger. Here we step through some of the basics of oyster anatomy that are good to know for shucking:
“Valves”/ Top & Bottom Shell
Being able to identify "top" and "bottom" valves is important for keeping the oyster's liquor intact. Often, the "top" of the oyster is flat, whereas the "bottom" of the oyster is cupped, holding the liquor and "meat" of the oyster. Make sure to keep the cup side down when shucking so you don't lose the good stuff.
Fringe/ Shell Lips
You might notice that oysters have ruffled edges, known as the fringe or the "shell lips". Most oysters are tumbled before reaching your plate, which chips away at this fringe and results in a more rounded oyster. These thin, brittle edges can chip when shucking, especially when you approach an oyster from the side. It's important to maintain a controlled force and look for chipped edges after you shuck.
Mantle
The mantle is a layer of soft tissue found at the outer edge of the oyster's body, lining the shell. This structure generates new shell growth and keeps the oyster intact. It's often but not always darker in color and can vary in thickness. Most shuckers aim to keep the mantle intact for presentation and to improve the texture-tasting experience. If you're early on in your shucking journey and having trouble keeping the mantle intact, try slowing down your movements and remember that knife placement is more important than brute pressure.
Gills
Oysters breathe through their gills and also use these feathery structures to filter food and water. The gills are also important for the oyster's liquor clarity and flavor profile. The gills’ appearance can also be an indicator of what the oyster is eating and in turn, shape how we taste an oyster. Some oyster gills even appear bright green, indicating the oyster has chowed down on a blue-green macroalgae known as Haslea ostrearia. These green-gilled oysters are prized for their appearance and vegetal flavor profile.
Heart
Oysters have a small beating heart near the adductor muscle. You might see a little movement after shucking, but this structure doesn’t impact shucking technique.
Liquor
The briny liquid inside an oyster is known as “liquor”, consisting of seawater, hemolymph, and cellular fluids. Oyster liquor has a huge impact on the oyster’s flavor profile and texture. When shucking, make sure to keep the cup side down and try to keep a steady hand to preserve the liquor. Make sure the liquor is clear before serving an oyster. A cloudy oyster could be unsafe to eat, indicating the oyster is old, sick, or has spawned.
[Photo of a shucked oyster or illustration with anatomical labels]
Oyster Species
Even though there are 200+ oyster species across the world, US consumers tend to stick to five species. Here’s a quick breakdown of the five oyster types you’ll see most often on raw bars, menus, and seafood markets.
Eastern Oyster (Crassostrea virginica)
Found all along the East Coast from the Gulf to Canada, Eastern oysters have a clean, briny, mineral flavor and elongated, teardrop-shaped shells. They’re the most common U.S. oyster, with flavor that shifts by region (known as merroir).
Pacific Oyster (Crassostrea gigas)
Grown on the West Coast and across the Pacific Rim, Pacific oysters offer sweet, melon-like notes with medium brine and deep, fluted, ruffled shells. They’re the most widely farmed oyster species in the world.
Kumamoto Oyster (Crassostrea sikamea)
Raised mostly on the West Coast, Kumamotos are small, sweet, and buttery with deep, sculpted cups. Their petite, photogenic shells and approachable flavor make them a raw-bar favorite.
European Flat / Belon (Ostrea edulis)
Native to Europe and grown in small amounts in Maine, European flats have a bold, metallic, ocean-heavy flavor and round, coin-flat shells. They’re rich, creamy, and beloved by experienced oyster eaters.
Olympia Oyster (Ostrea lurida)
A tiny native of the West Coast, Olympias delivers a sharp, coppery, earthy flavor in small, shallow, round shells. Limited in supply, they’re a specialty oyster prized for their distinctive taste.
Types of Oyster Knives:
It’s important to always use an oyster knife when opening an oyster. So what oyster knife do you use? Oyster knives are built to handle pressure and slice an adductor muscle safely, but their shape, material, and function can vary. Like any knife, oyster knives run the gamut from low-cost value knives to mid-tier professional models to premium specialized designs. You can likely find a value knife for under $15, whereas a professional knife could run up to $60 with stronger steel and a handle designed for steady use. Boutique and artisan knives extend up to $179+, focusing on elevated materials, unique handle designs, and craftsmanship.
Most types of oyster knives have a 3-4 inch blade and are named after places, shaped by industry preferences, and oyster shape. For example, French blades tend to be slimmer and are better for side-shucking rounded Belon oysters, whereas a broad Galveston blade gives better leverage for opening sturdy Gulf oysters. Here we step through the basic blade shapes you’ll find in the US:
-
New Haven Oyster Knife: This knife is great for beginners and hinge shuckers, with a slight upturn at the tip to help lift the oyster once the adductor muscle is cut.
-
Boston Oyster Knife: Built for reliable hinge work, this knife has a straight, narrow, sturdy blade.
-
Providence Oyster Knife: Offering additional control for side entry, this blade tapers more gradually.
-
The Galveston Oyster Knife: With longer, broader blades, this knife is great for larger oysters, where you need additional leverage and reach.
-
The Duxbury Oyster Knife: Ideal for smaller oysters or tighter hinges, this blade is compact and narrow.
-
The French Oyster Knife: With a longer, slimmer, tapered blade, this knife is perfect for shuckers who prefer precise hinge entry.
-
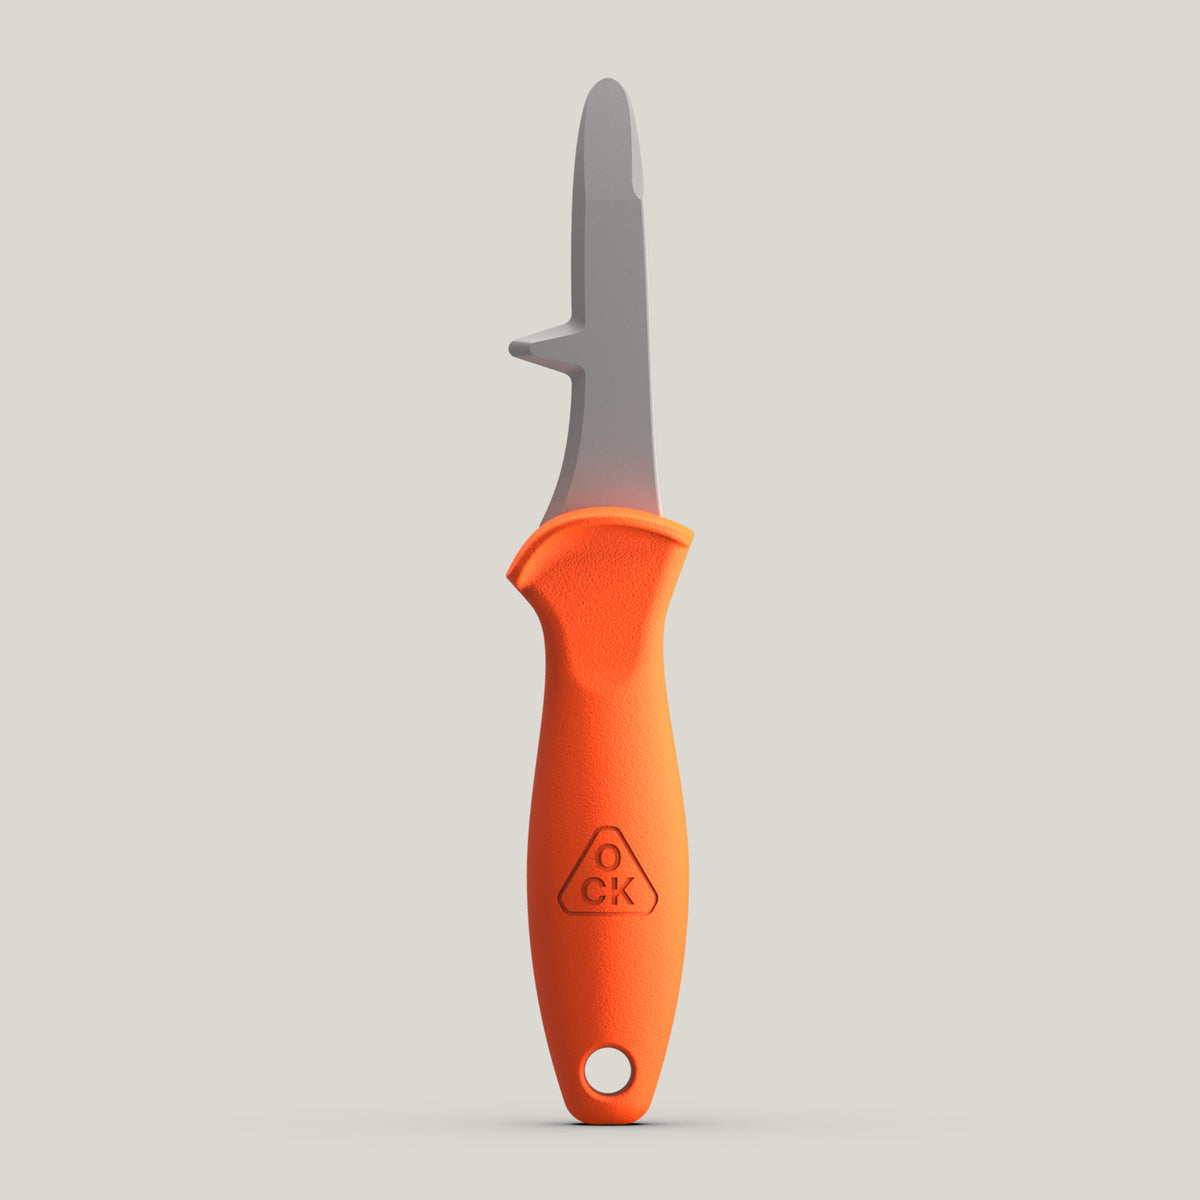
The Outer Cape Oyster Knife: Designed to handle the Cape’s versatile wild and farmed oysters, our unique blade shape is designed to hinge and side shuck while allowing the shucker to slice the adductor in one swoop.
Shucking Prep
Before shucking your oysters, it’s important to have the right setup and clean oysters.
-
Clean Your Oysters: If you’re purchasing oysters from an oyster farm, they might be a little muddy. Before you shuck them, give your oysters a good scrub with a bristle brush, rinsed under cold water. But keep in mind, oysters don’t like fresh water, so keep their exposure brief.
-
Keep it Cold: It’s crucial that oysters stay at a temperature between 32°F and 40°F (0-4°C) so that they’re safe to consume. Keep your oysters in the fridge up or on ice until serving. You can get fancy with pebble ice and a vintage platter or keep it simple with an ice-filled cookie sheet and some coasters. Just make sure whatever’s holding your oysters can keep them upright.
-
Gather Your Materials: All you really need to shuck an oyster is a knife and an oyster. However, if you’re serving a crowd, you probably need a way to keep them cold and upright. Depending on whether you’re hinge or side shucking (we dive into that below), you might also want something extra for protection, such as a shucking glove or a cloth for stability. You’ll also want to assemble your garnishes or sauces, and something to serve the oysters on that can keep them cool.
Shucking Technique #1 | Hinge Shucking
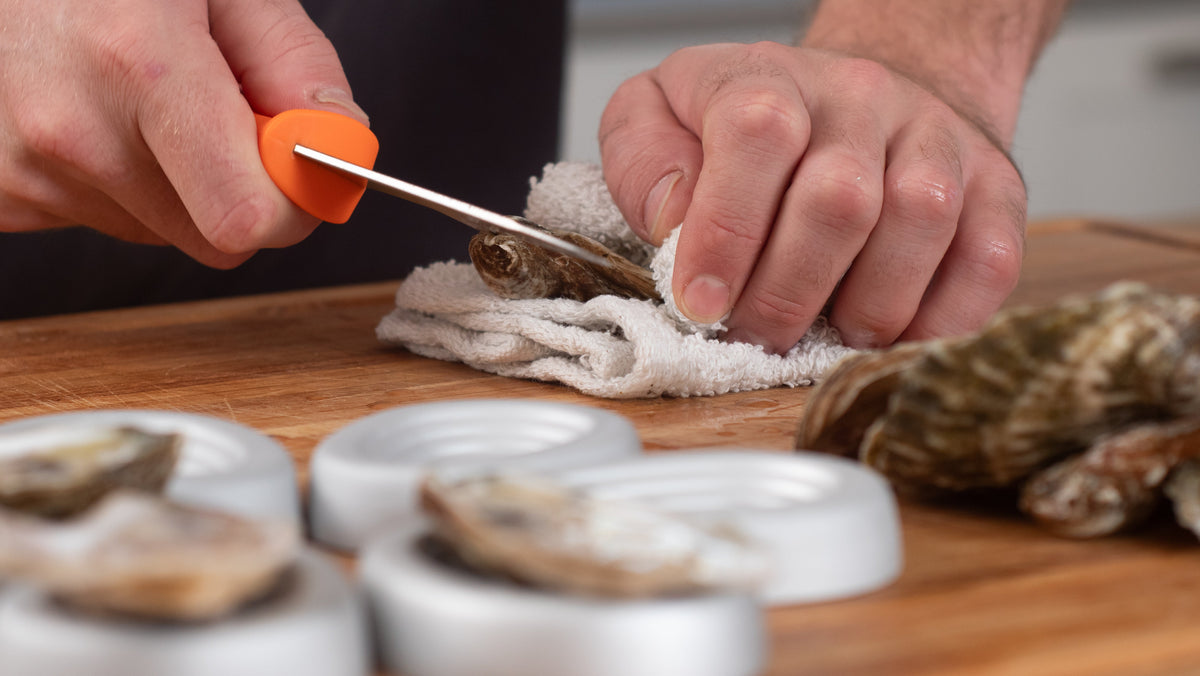
Hinge shucking is the safest, cleanest, and most controlled way to open an oyster. By entering through the hinge, the strongest part of the shell, you get a compact, predictable shuck with minimal risk of slipping or cutting your knuckles. It’s the preferred method for both at-home shuckers and raw-bar professionals because it keeps your hands protected and the oyster intact.
Insert (Video - Hinge Shucking) → Link to How to Shuck
-
Insert the Blade Into the Hinge: With the pointed tip of the blade, find the hinge at the back of the oyster and gently press into the natural opening.
-
Grip and Stabilize: Place the fingers of your non-dominant hand over the back of the blade, squeezing the knife and oyster together until everything feels snug and locked in.
-
Rotate to Pop the Shell: Keeping your fingers braced on the back of the blade, rotate your forearm to apply controlled pressure. Push downward into the hinge until you feel the pop that separates the top and bottom shells.
-
Sever the Top Adductor Muscle: Slide the blade along the inside of the top shell until you reach the adductor muscle. Cut through it cleanly, then remove the top shell.
-
Free the Oyster From the Bottom Shell: Locate the adductor muscle still attached to the bottom. Slide your knife under the oyster, scraping gently along the bottom shell, and cut through the bottom attachment.
-
Ready to Serve: The oyster is now fully separated from the shell, clean, and ready for presentation.
Shucking Technique #2 | Side Shucking
Side shucking is fast, efficient, and commonly used in competitions or high-volume environments. By entering through the side seam of the oyster, you can reach the top adductor muscle quickly. It requires more precision than hinge shucking and involves working through the shell’s edge, but once mastered, it’s an incredibly quick method.
Insert (Video - Hinge Shucking) → Link to How to Shuck
-
Find the Shell Seam With the Rounded Edge of the Blade: Use the rounded top part of the blade to locate the point where the top and bottom shells meet along the side.
-
Wiggle Into the Shells: Gently wiggle the blade into the seam until it slides between the shells.
-
Swipe Up to Cut the Top Adductor: Once the blade is tucked in place, angle upward and make a smooth swipe to slice through the top adductor muscle. This will release the top shell.
-
Remove the Top Shell: Lift off the top shell to reveal the oyster in the bottom cup.
-
Sever the Bottom Muscle: Just like hinge shucking, find the remaining adductor muscle attached to the bottom shell. Slide your blade underneath the oyster and cut through to free it completely.
-
Ready to Serve: The oyster is now fully separated and ready for the plate.
Beginner to Pro
Everyone shucks differently and the way you shuck oysters might change with species, the knife you use, and experience. Next time you’re at your favorite oyster bar, try sitting by the shucker to see how they move and how their technique shifts from oyster to oyster. Try out different techniques to see what works best for you and the oysters you're shucking. The only way to become an oyster shucking pro is to practice.